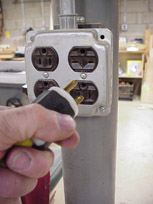
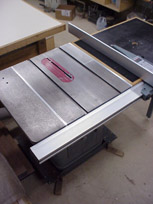
Disconnect saw from electrical circuit. Remove table extensions.
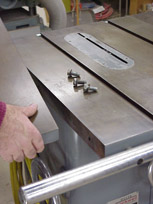
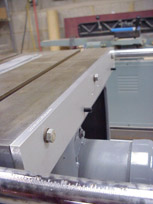
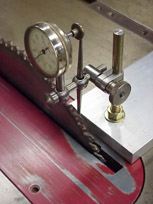
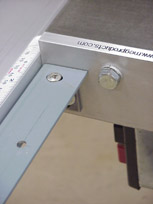
Bolt bars to main table, web address to front of saw, with one-inch bolts removed from extensions. Insert 3/8 inch set screws into alignment bar and bring to bear on saw cabinet. Some marring of paint may occur.
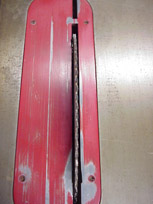
Loosen table bolts. Elevate blade and center in throat plate slot using set screws in alignment bar to shift table. Note: the set screws are opposed, when one screw is turned to the right, the opposing screw must be turned to the left.
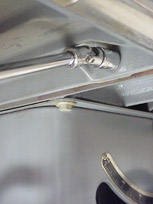
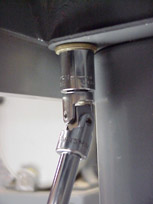
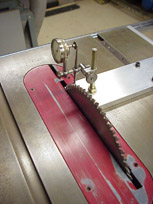
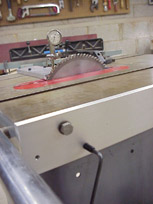
Utilizing your dial indicator, determine the distance from the front of the blade to the miter slot. Move indicator to rear of blade and use the set screws at the rear of the saw to achieve same reading. Always turn opposing set screws in opposite directions. Move indicator to front of blade to recheck reading, then to rear of blade to make adjustments if necessary. Make all adjustments at rear of saw. Tighten table bolts. Recheck work. Replace table extensions.
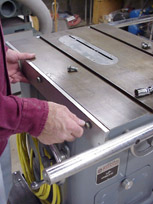
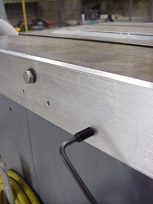
If you wish to leave the alignment bars on the saw, a kit of bolts is available from M E G Products. Each bar has four ¼-20 threaded holes and will serve as the mounting plate for an extension table. Use only one-inch bolts to secure alignment bar that will serve as mounting plate. Do not over tighten or force bolts as severe damage to table may result. The kit (AU-01) consists of three 7/16-20x1½ inch bolts, three ¼-20x3/4 inch bolts and washers. One kit is required for each iron table extension.
© 2003, c difranco